Thank you for downloading AnduinOS
Your AnduinOS journey starts here. Follow the steps below to get up and running in under 30 minutes.
If your download doesn't start automatically, click here.
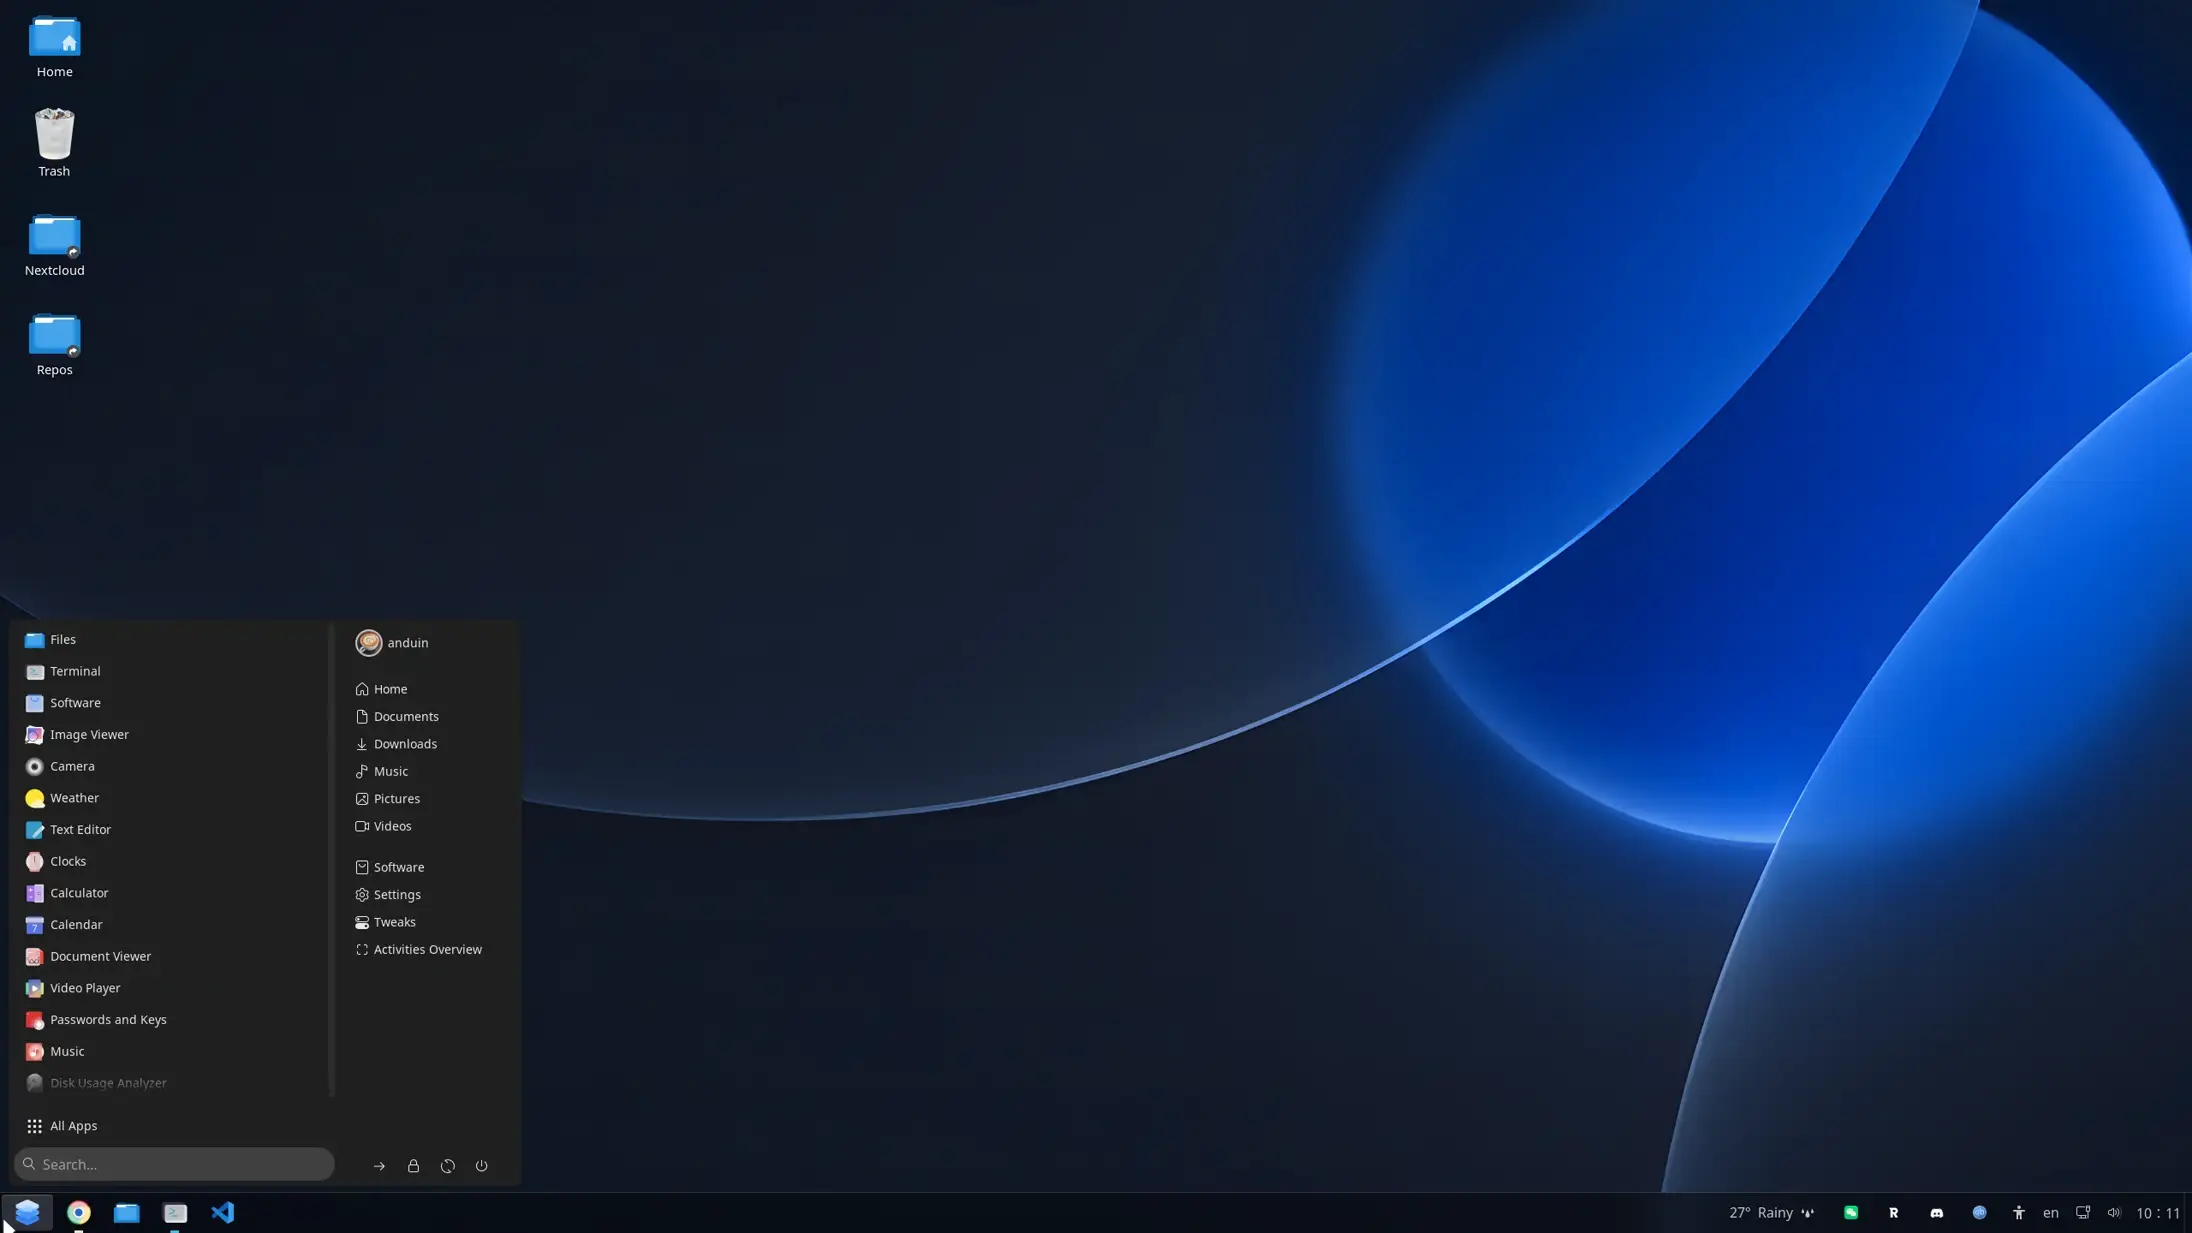
Create Installation Media
Verify your download and create a bootable USB drive.
1. Verify the checksum
After downloading the ISO file, verify its integrity to ensure it has not been tampered with.
sha256sum ./AnduinOS-2.0.2-amd64.iso
Compare the output with the official SHA256 checksum. If they match, your ISO is valid.
sha256sum ./AnduinOS-2.0.2-amd64.iso2. Create a bootable USB drive
We recommend using Rufus to create the bootable USB drive. Make sure to select dd mode instead of ISO mode.
⚠️ Use dd mode, not ISO mode!
ISO mode may cause AnduinOS to fail to boot.
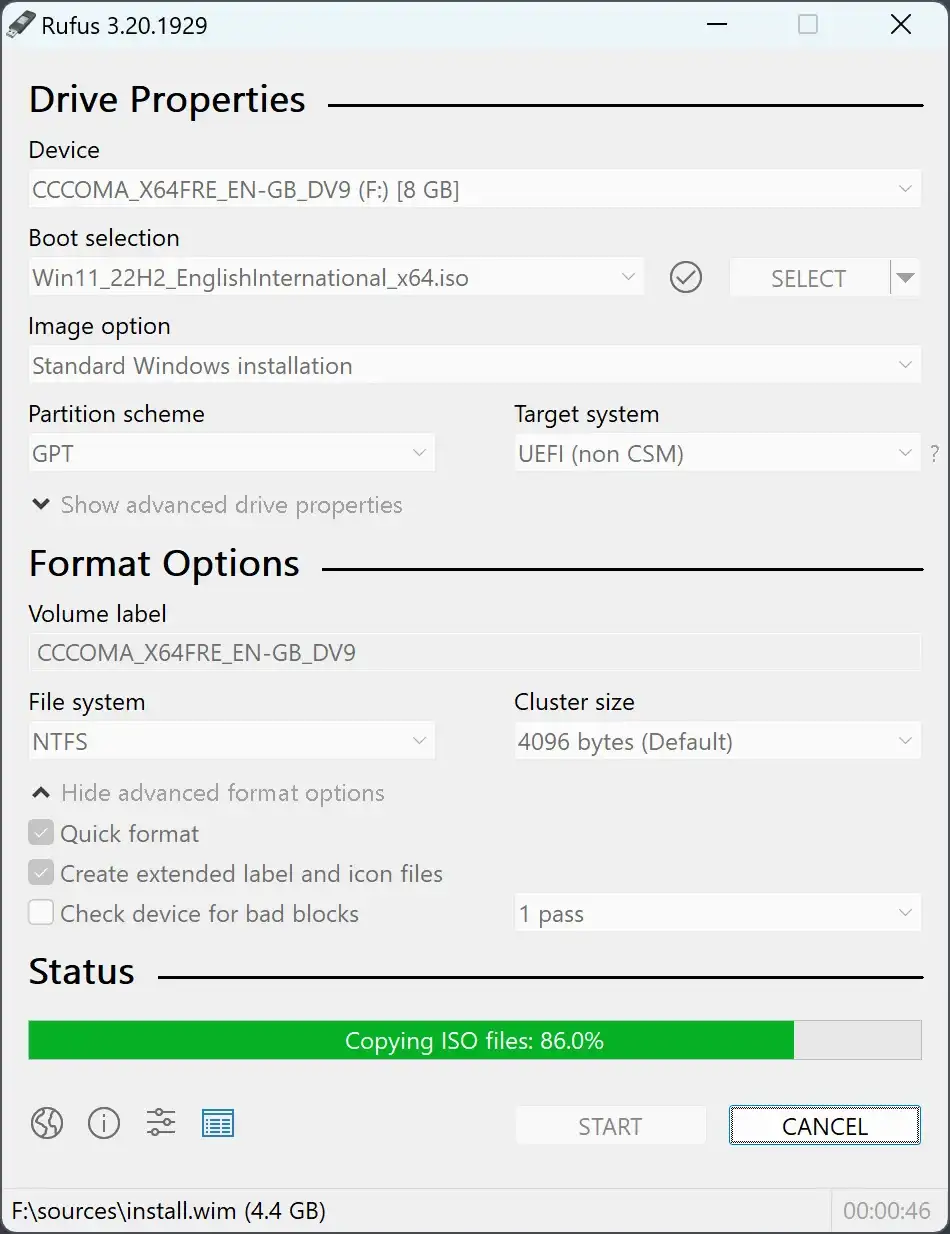
Impression is the most user-friendly way to flash the ISO on Linux. Install it via Flatpak:
Or use the command line:
sudo dd if=./AnduinOS.iso of=<device> status=progress oflag=sync bs=4M
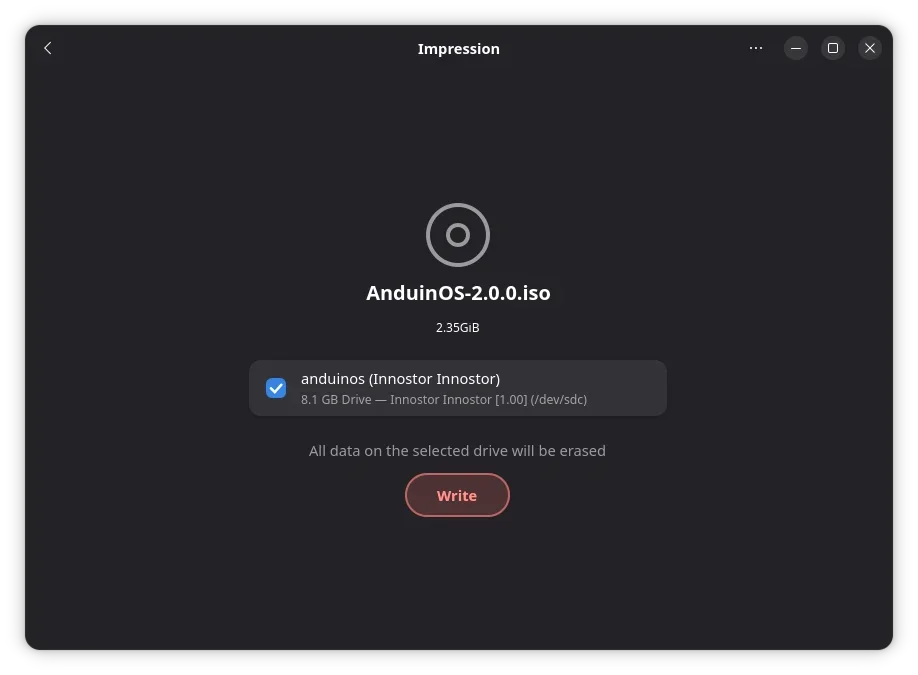
BalenaEtcher is a cross-platform graphical tool that makes flashing ISO images simple and safe.
- Download and install BalenaEtcher.
- Click "Flash from file" and select the AnduinOS ISO.
- Select your target USB drive and click "Flash!".
If you frequently install operating systems, Ventoy lets you keep your USB drive usable for regular storage while still being bootable. Simply copy the ISO file onto the drive and boot.
- Install Ventoy to your USB drive.
- Copy the AnduinOS ISO onto the drive like a regular file.
- Boot from USB and select the ISO from Ventoy's menu.
No repeated flashing or erasing needed!
Install AnduinOS
Boot from USB and follow the graphical installer.
💡 Optional Pre-installation Steps
- Secure Boot — Enable it in BIOS before booting
- NVMe SSD? — Change LBA size to 4K for optimal performance
- Dual Boot? — Read the dual-boot guide first
Boot from USB
Common boot menu keys: F12, F11, Esc, F10, or Vol Down + Power
- Insert the USB drive and power on your computer.
- Press your manufacturer's boot menu key immediately.
- Select the USB drive in the boot menu.
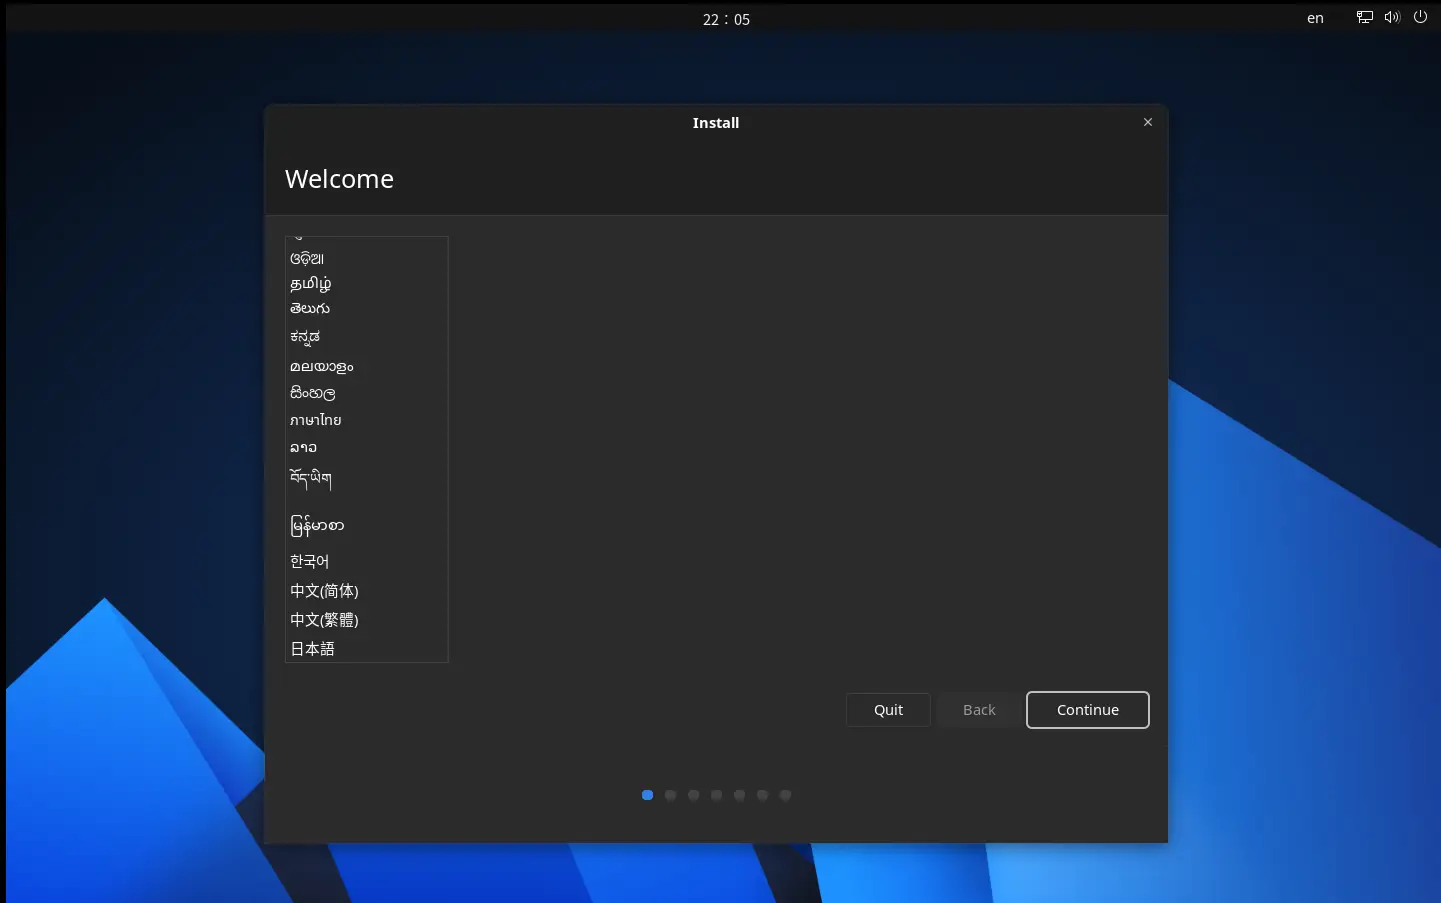
- In GRUB, select your language and choose Install AnduinOS.
After Installation
First things to set up when you boot into AnduinOS.
Secure Boot Enrollment
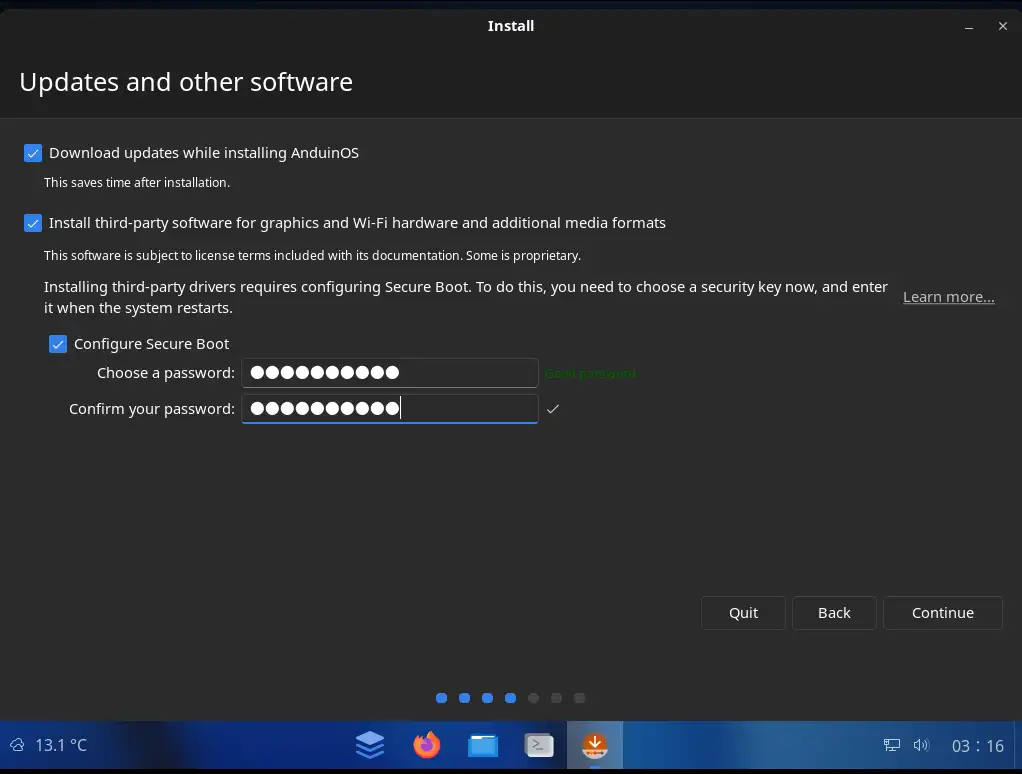
Complete the MOK enrollment on first boot to enable third-party drivers like NVIDIA and Xbox controllers.
Secure Boot GuideSwitch Language
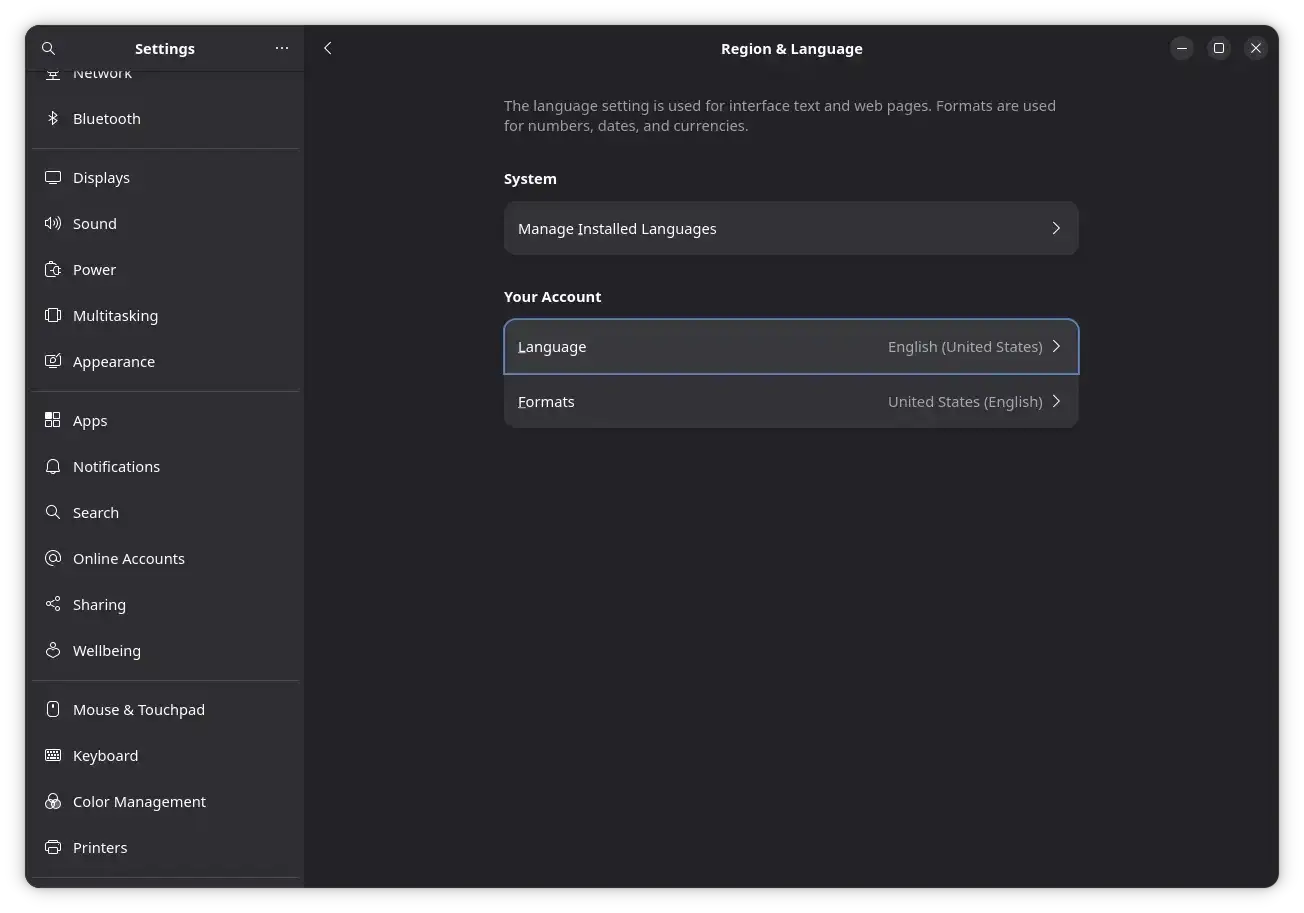
Change the system language, regional formats, and add input methods like Chinese Pinyin or Japanese Anthy.
Language GuideUpdate Your System
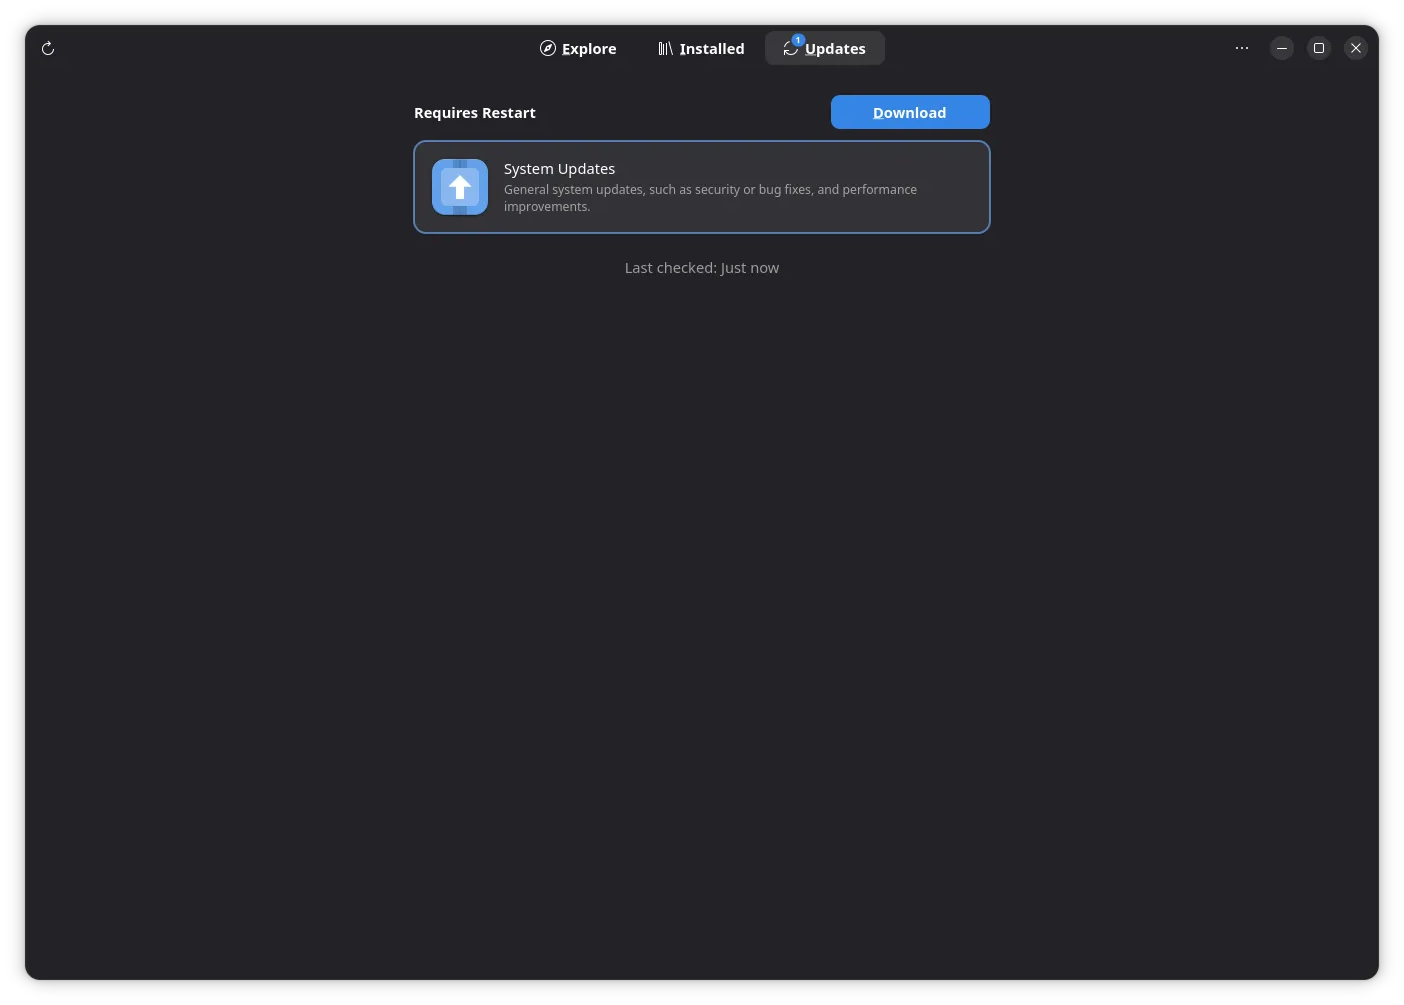
Security patches are applied automatically. For feature updates, use the App Store's offline update mechanism.
Update GuideEnable Firewall
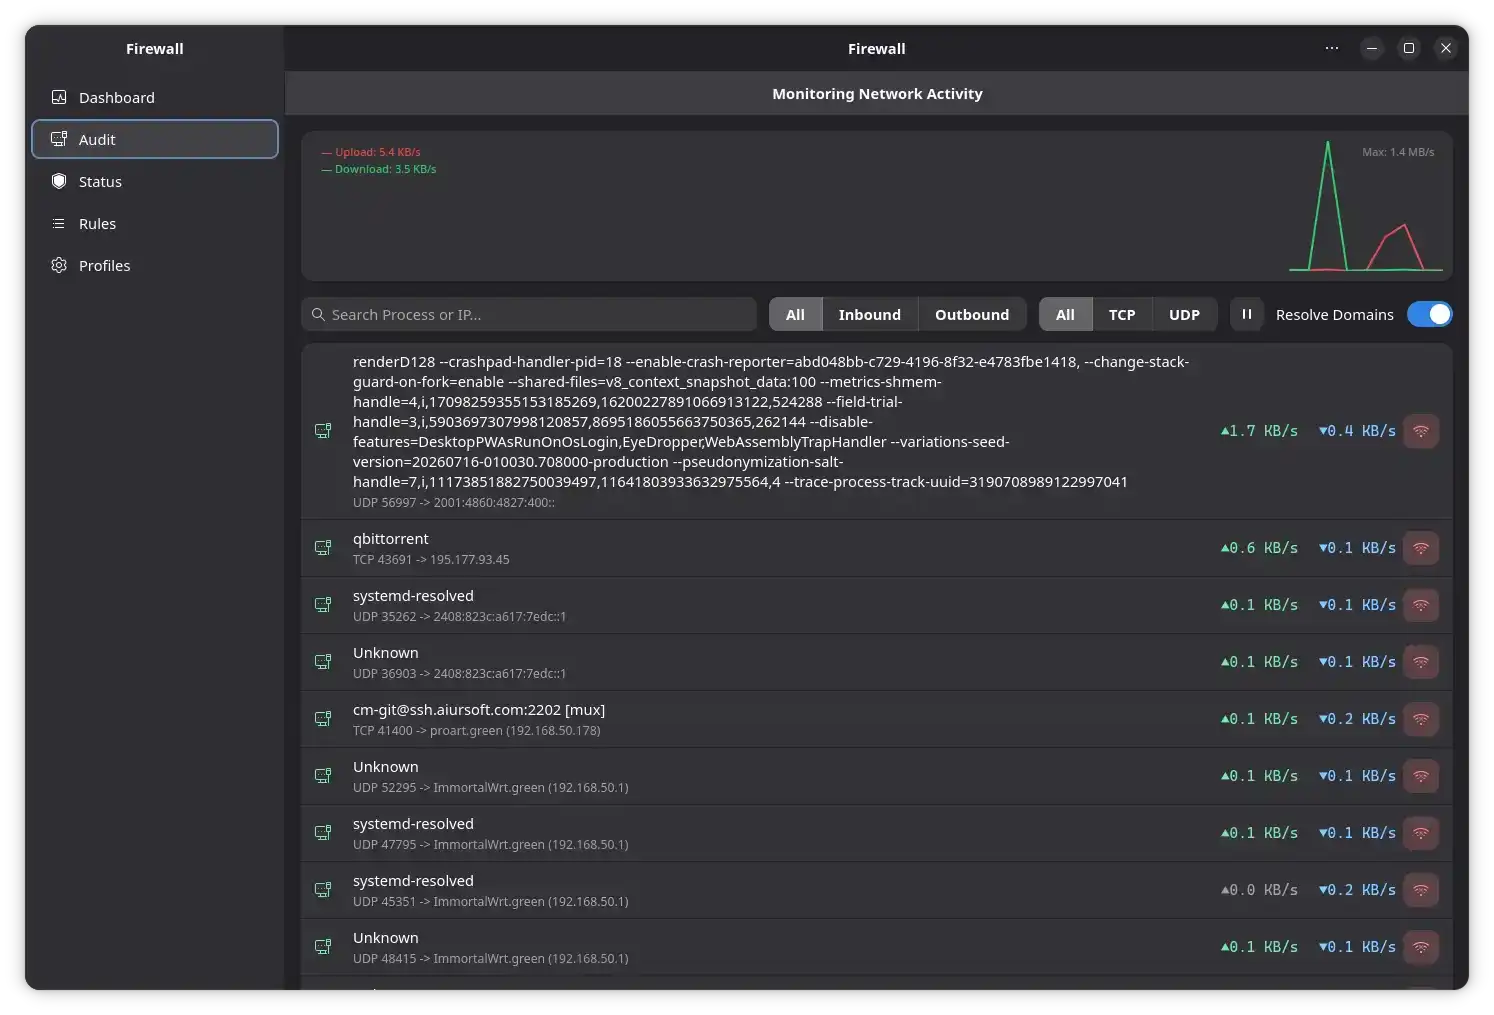
UFW is disabled by default (no open ports = no risk). Enable it via the Welcome Center or graphical Firewall app when needed.
Firewall GuideInstall Drivers
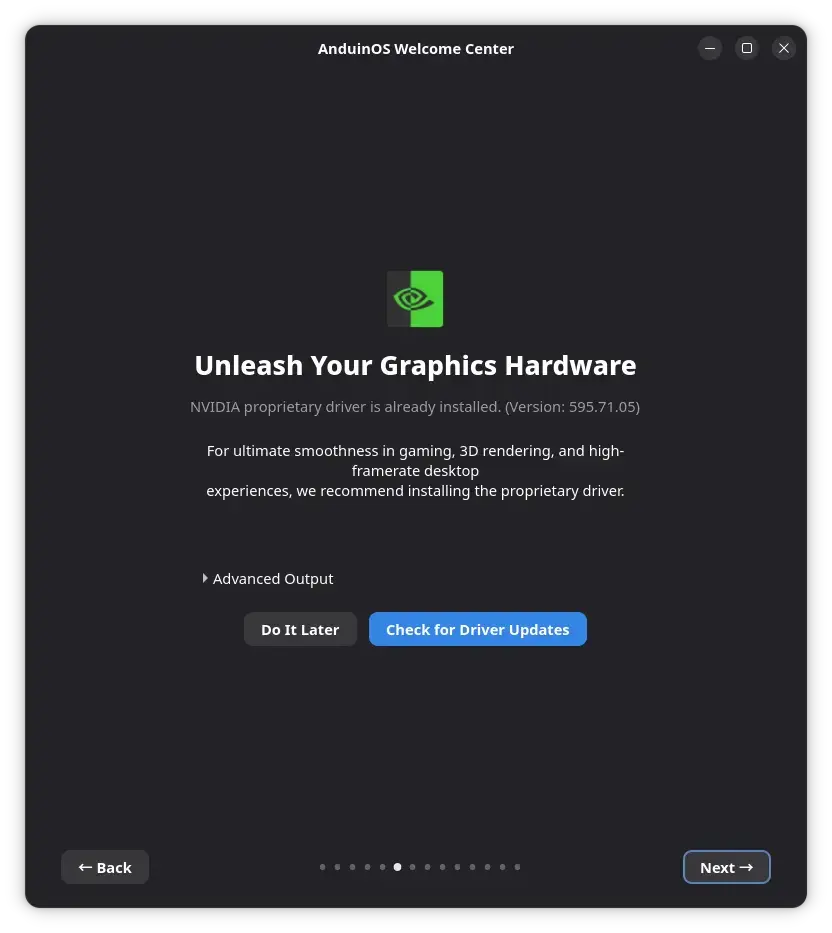
Use the Welcome Center to install NVIDIA drivers, Xbox controller support, and other hardware drivers with one click.
Drivers GuideSetup Backup
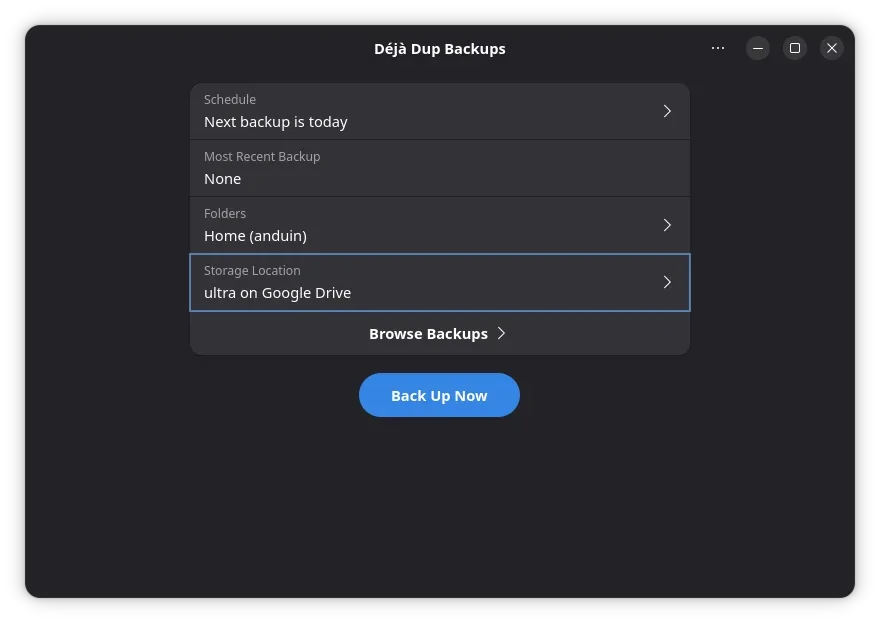
Use Deja Dup for automated, encrypted backups to an external drive or cloud storage. Set it once, forget about it.
Backup GuideDocumentation
Browse the full documentation for detailed guides, tips, and troubleshooting.
Browse DocumentationCommunity Support
Something not working? Have a suggestion? Join the discussion on GitHub.
Join the DiscussionDonate
AnduinOS is community-supported. Your donation helps keep development active and independent.
Support AnduinOS